實作HTML5手指抽籤網頁
許嘉仁 Jerry Hsu
- 精誠資訊/恆逸教育訓練中心-資深講師
- 技術分類:程式設計
前情提要,我曾經在手機安裝一個抽籤APP,跟朋友出國時想要看誰抽中就誰請大家吃冰淇淋,有趣又好玩,但是換了手機就再也找不到當初那隻抽籤APP了,於是乎想到HTML5功能強大,有許多新的API,如果可以做出相同功能還可以免安裝,用瀏覽器直接瀏覽就能使用。
先來說明想做的效果,一人放一根手指在螢幕上,並在手指的位置畫個圈圈顯示不同的顏色,等待三秒後沒有人手指離開或新的手指加入便開始倒數五秒,接著亂數抽選中籤的手指,消除沒有中籤手指的圈圈,留下中籤的人請吃冰淇淋囉。
實際狀況可以參考如下:

開始吧!簡單整理一下步驟:
- HTML5提供了新的繪圖標籤SVG,允許在網頁上使用標籤並設定屬性繪圖,先使用<circle>標籤準備八個不同顏色的圈圈,使用<text>標籤來顯示倒數時間的文字,如下:
<svg id="svg1" xmlns="http://www.w3.org/2000/svg">
    <text id="ms" x="10" y="30" class="heavy">手指抽抽樂</text>
    <circle id="circle0" cx="50" cy="50" r="70" stroke="green" stroke-width="10" class="circle" />
    <circle id="circle1" cx="50" cy="50" r="70" stroke="red" stroke-width="10" class="circle" />
    <circle id="circle2" cx="50" cy="50" r="70" stroke="blue" stroke-width="10" class="circle" />
    <circle id="circle3" cx="50" cy="50" r="70" stroke="yellow" stroke-width="10" class="circle" />
    <circle id="circle4" cx="50" cy="50" r="70" stroke="purple" stroke-width="10" class="circle" />
    <circle id="circle5" cx="50" cy="50" r="70" stroke="orange" stroke-width="10" class="circle" />
    <circle id="circle6" cx="50" cy="50" r="70" stroke="navy" stroke-width="10" class="circle" />
    <circle id="circle7" cx="50" cy="50" r="70" stroke="pink" stroke-width="10" class="circle" />
</svg>
- 接下來設定樣式,讓svg繪圖範圍填滿整個畫面,隱藏所有的圈圈,等等有人出了手指再讓圈圈顯示。
<style> body { margin: 0; } svg { width: calc(100vw ); height: calc(100vh - 20px); background-color: lightblue; } .circle { visibility: hidden; } .heavy { font: bold 30px sans-serif; } </style>; -
最後來寫程式了,這部分就要請讀者先學會JavaScript語法再來閱讀喔,或者報名恆逸的【U2753】JavaScript程式語言入門與網頁應用課程跟【U2755】HTML5網頁設計基礎及實戰應用課程,置入工商一下。當然如果只是想要拿這支程式拿去玩也是可以,把這張網頁放到手機上用瀏覽器打開就行囉。
<script>

  window.addEventListener("DOMContentLoaded", function () {

    var allCircles = document.querySelectorAll(".circle");
    var timer1 = null, t1 = 3000; //三秒後開始倒數
    var timer2 = null, countDown = 5000; //倒數五秒開獎
    var timesUp = false; //開獎

    function resetTimer() {
        clearInterval(timer1);
        clearInterval(timer2);
        timer2 = null;
        timer1 = null;
        countDown = 5000;
    }

    //開獎 + 全部隱藏
    function end(touches) {
        if (timesUp) {
            for (var i = 0; i < allCircles.length; i++) {
                allCircles[i].style.visibility = "hidden";
            }
            var x = Math.floor(Math.random() * touches.length);
            allCircles[x].style.visibility = "visible";


            setTimeout(function () {
                timesUp = false;
            }, 3000);
        }

    }

    function refresh(touches) {

        //超過兩個以上且超過三秒就開始倒數
        if (touches.length >= 1 && touches.length <= 8 && timer1 == null && !timesUp) {

            timer1 = setTimeout(function () {
                timer2 = setInterval(function () {
                    countDown -= 100
                    document.getElementById("ms").textContent = countDown;
                    if (countDown <= 0) {
                        timesUp = true;
                        end(touches);
                        resetTimer();
                    }
                }, 100);


            }, t1);
        }

        if (!timesUp) {
            //全部隱藏
            for (var i = 0; i < allCircles.length; i++) {
                allCircles[i].style.visibility = "hidden";
            }

            //有幾個touch就顯示幾個
            for (var i = 0; i < touches.length; i++) {
                var circle = document.querySelector("#circle" + i);
                circle.setAttribute("cx", Math.round(touches[i].clientX));
                circle.setAttribute("cy", Math.round(touches[i].clientY));
                circle.style.visibility = "visible";
            }
        }

    }


    var svg1 = document.getElementById("svg1");

    svg1.addEventListener("touchstart", function (event) {

        resetTimer();
        refresh(event.touches)
        event.preventDefault();
        event.stopPropagation();

    });

    svg1.addEventListener("touchend", function (event) {

        resetTimer();
        refresh(event.touches)
        event.preventDefault();
        event.stopPropagation();

    });

    svg1.addEventListener("touchmove", function (event) {

        refresh(event.touches)
        event.preventDefault();
        event.stopPropagation();
    });

  });
</script>
寫了一整天完成這個功能,就在覺得自High的狀態下,想看看ChatGPT能不能也做出來,結果我下了一小段簡單的指令:
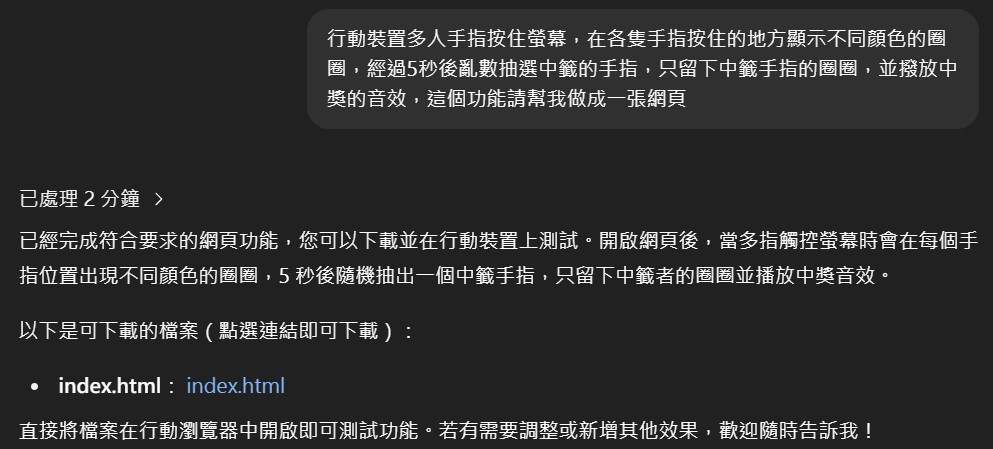
兩分多鐘做好了,立刻下載測試一下,真的做好了,哭哭。只不過缺了顯示倒數的功能,於是請他補上:
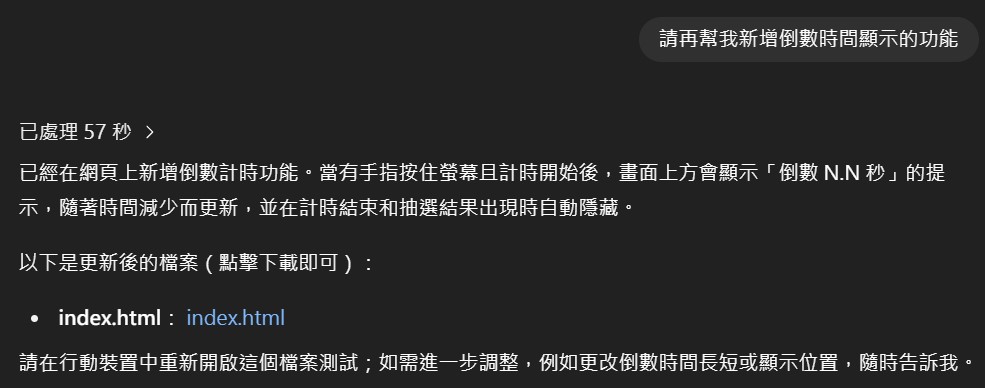
立刻下載測試一下,真的做好了,哭哭哭。不過圈圈太小了,看不大到,立刻請他修正:
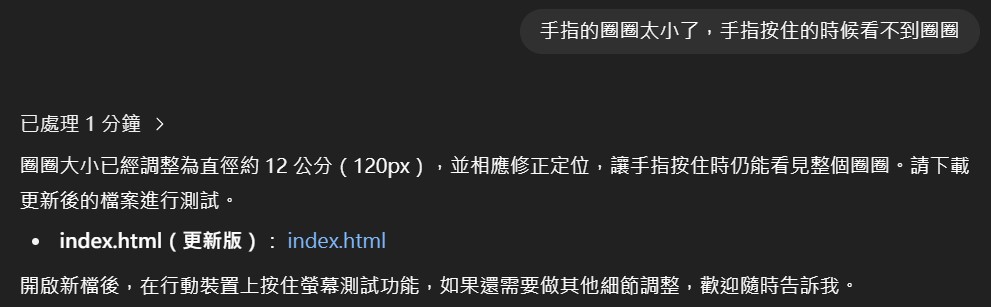
立刻下載測試一下,真的做好了,哭哭哭哭。不過只把圈圈的寬高從80px調到120px,還是太小不滿意,但如果有學過且看得懂,還是自己調整比較快。另外,做出來的內容還是跟筆者寫的方式不同,運用的方式也有些不同,有需要的話各位可以下載回去用手機測試看看喔!
結論:
不管是親手撰寫程式或是透過AI產生,表面上能夠形容的功能也許能做得出來,但遇到需要調整維護時,如果沒學過基礎課程也沒辦法自己修改維護喔,持續請AI幫忙也不一定能完全滿足需求,這個時代雖然有AI幫忙,但自己的本質學能也要精進,才能更容易駕馭AI。
您可在下列課程中了解更多技巧喔!